
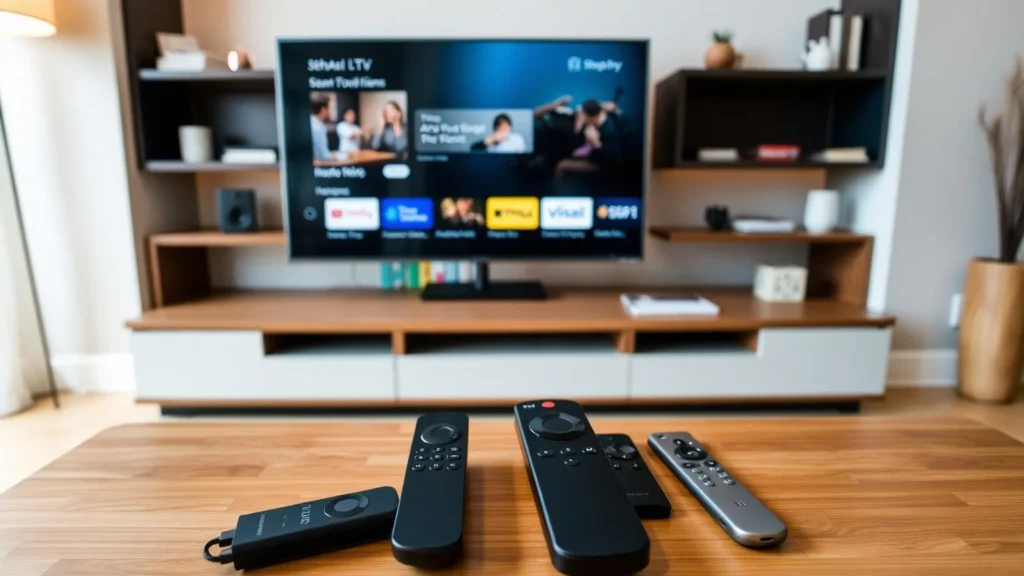
vSeeBox V6 Plus is an Android-powered hardware device that can be connected to compatible meeting-room displays for presentations, schedules, dashboards, and shared information screens. This guide covers its hardware specifications, connectivity options, setup workflow, storage support, maintenance, and practical deployment considerations for business environments.
Why Standardized Hardware Helps Meeting Spaces
Modern workplaces often use several display locations, including conference rooms, training spaces, reception areas, and shared collaboration zones. Managing those locations becomes easier when the hardware platform is consistent across the organization.
A standardized device can simplify installation, replacement, support, and device settings. It can also help teams maintain a predictable setup in rooms where staff and visitors need reliable access to presentations and shared information.
Recommended Deployment Requirements
Before installing vSeeBox hardware in a business environment, confirm that each location has:
- A compatible display with an available HDMI input
- A suitable power outlet near the device
- A stable Wi-Fi network or available Ethernet connection
- Enough open space for ventilation
- A secure location for the device, remote, and cords
- An organization-selected device configuration policy
vSeeBox V6 Plus Hardware Overview
The V6 Plus is built around the Amlogic 905Y5 system-on-chip and runs Android 14. It includes a quad-core ARM Cortex-A55 processor, a Mali-G31 MP2 graphics processor, 4 GB DDR3 RAM, and 64 GB eMMC internal storage.
For business use, these hardware features support responsive navigation, local video playback, expandable storage, and direct connection to compatible displays and peripherals.
Display and Video Output
The device supports AV1, VP9, H.264, and H.265 10-bit HDR decoding up to 8K at 60 frames per second, depending on the source file and connected display.
HDMI 2.1 output supports resolutions up to 8K at 60 Hz. Composite AV output is also available for compatible display equipment.
Network and Peripheral Connectivity
The V6 Plus provides both wireless and wired network options:
- Dual-band MIMO Wi-Fi 2T2R
- 2.4 GHz and 5 GHz network support
- 802.11a/b/g/n/ac/ax compatibility
- RJ45 Ethernet port with 10/100 Mbps adaptive speed
- Bluetooth 5.0 for compatible accessories
The device includes one USB 2.0 port and one USB 3.0 port. Compatible USB keyboards, mice, remote controls, speakers, headphones, and storage devices can be connected when supported by the configured system.
Key Specifications
| Category | Specification |
|---|---|
| Operating System | Android 14 |
| System-on-Chip | Amlogic 905Y5 |
| CPU | Quad-core ARM Cortex-A55 |
| GPU | Mali-G31 MP2 |
| RAM | 4 GB DDR3 |
| Internal Storage | 64 GB eMMC |
| Video Decoding | AV1, VP9, H.264, H.265 10-bit HDR up to 8K at 60 fps |
| Video Output | HDMI 2.1 up to 8K at 60 Hz; composite AV |
| Wireless Network | Dual-band MIMO Wi-Fi 2T2R, 2.4 GHz and 5 GHz |
| Wired Network | RJ45, 10/100 Mbps adaptive |
| Bluetooth | Bluetooth 5.0 |
| External Storage | USB storage up to 2 TB, FAT32 or NTFS |
| USB Ports | USB 2.0 x 1, USB 3.0 x 1 |
| Power Input | DC 5 V / 2 A |
Meeting-Room Setup Workflow
- Mount or place the connected display in the required room.
- Position the vSeeBox unit on a stable surface with sufficient ventilation.
- Connect the HDMI cord from the device to the display.
- Select the correct HDMI input on the display.
- Connect the Ethernet cord when a wired network is preferred.
- Connect the included power adapter and turn on the device.
- Complete the Android setup process and choose the organization-selected settings.
- Join the selected Wi-Fi network when Ethernet is not used.
- Pair the Bluetooth remote and any supported peripheral devices.
- Check for firmware updates before placing the room into service.
- Confirm display resolution, sound, language, time zone, and date settings.
- Label the remote, cords, and device for easier support and replacement.
Business Use Cases
Conference Room Presentations
The V6 Plus can connect directly to a conference-room display for presentation files and organization-selected software. A wired Ethernet connection can improve reliability in permanent installations.
Shared Information Displays
Organizations can configure authorized dashboards, schedules, announcements, or local presentation files for reception areas and shared spaces.
Training and Collaboration Rooms
The hardware can support training-room display setups where staff need a consistent device for presentations, local files, and supported collaboration tools.
Multi-Room Hardware Standardization
Using the same hardware model across several rooms can simplify spare-device planning, remote support procedures, and replacement cycles.
Storage and Local Files
The V6 Plus includes 64 GB of internal storage and supports compatible USB storage up to 2 TB using FAT32 or NTFS. For shared locations, organizations should define which local files may be stored on the device and how storage devices are managed.
Network Planning
For permanent installations, Ethernet is often the preferred connection because it provides a fixed wired link. Wi-Fi 6 can be used when running an Ethernet cord is not practical, provided the room has sufficient signal strength.
Organizations should follow their standard network access rules, device naming conventions, and access policies during setup.
Firmware and Maintenance
Check for firmware updates after installation and periodically during normal maintenance. Keep the device connected to power and a stable network while an update is being installed. Do not disconnect power during the update process.
Routine maintenance should include:
- Checking cords and ports for damage
- Confirming that ventilation openings remain clear
- Testing the remote control and Bluetooth accessories
- Reviewing available storage space
- Checking for available firmware updates
- Confirming required display and network settings
Security and Device Policy
The V6 Plus ships as hardware only. It does not include organization-specific accounts, preconfigured access, or a managed deployment profile. Businesses are responsible for device configuration, network access, physical security, and internal usage policies.
Where possible, restrict physical access to the device, USB ports, remote control, and network settings. Record device serial numbers and room assignments in the organization asset inventory.
Deployment Checklist
- Confirm the display input and supported resolution
- Test the HDMI connection
- Confirm Ethernet or Wi-Fi connectivity
- Pair and test the remote control
- Complete all firmware updates
- Configure organization-selected settings
- Test external USB storage when required
- Document the device location and serial number
- Label cords and accessories
- Provide basic user instructions for the room
Troubleshooting Basics
No Display Signal
Confirm that the HDMI cord is fully connected, the correct display input is selected, and the device is receiving power.
Network Connection Issues
Check the Ethernet link or Wi-Fi signal, confirm the network password, and review the organization's access rules.
Remote Control Issues
Replace or recharge the batteries when needed, keep the remote within range, and confirm the Bluetooth pairing settings.
USB Storage Not Detected
Confirm that the storage device uses FAT32 or NTFS and does not exceed the supported 2 TB capacity. Reconnect the storage device and restart the V6 Plus when necessary.
Support
For hardware questions, deployment assistance, warranty information, or service support, visit the vSeeBox USA contact page or email contact@vseeboxtvusa.com.